If that first sentence didn’t
put you off here’s something I feel share-worthy. For some time, the longest
lens we had for any of the GFXs we owned has been the beautiful GF250 and 1.4
extender. The 250 equates to approximately 200mm in 35mm terms and the 350
(with 1.4 extender added) to approximately 280mm. From here on I’ll be dropping
“approximately”.
600 with 1.4 extender @10 yards No Crop
What can a lens that was built
for film and hasn’t been in production for well over 23-years. Good question
which I hope to answer shortly.
2x extender @37 yards no crop
A 600mm lens built for medium
format equates to 480mm while a 600 plus 1.4 (840mm) will equate to 672mm.
Going whole hog and adding a 2x extender (1200mm) will produce around 960mm in
35mm terms.
There are a few downsides to
using this lens. It is heavy, very heavy. Manual focus for those who care. The
possible weak point is the adaptor you choose; my choice was a KIPON. The
upside is that there are several adaptors, both new and old available.
Likewise, the extenders. Lastly, did I mention it is very heavy?
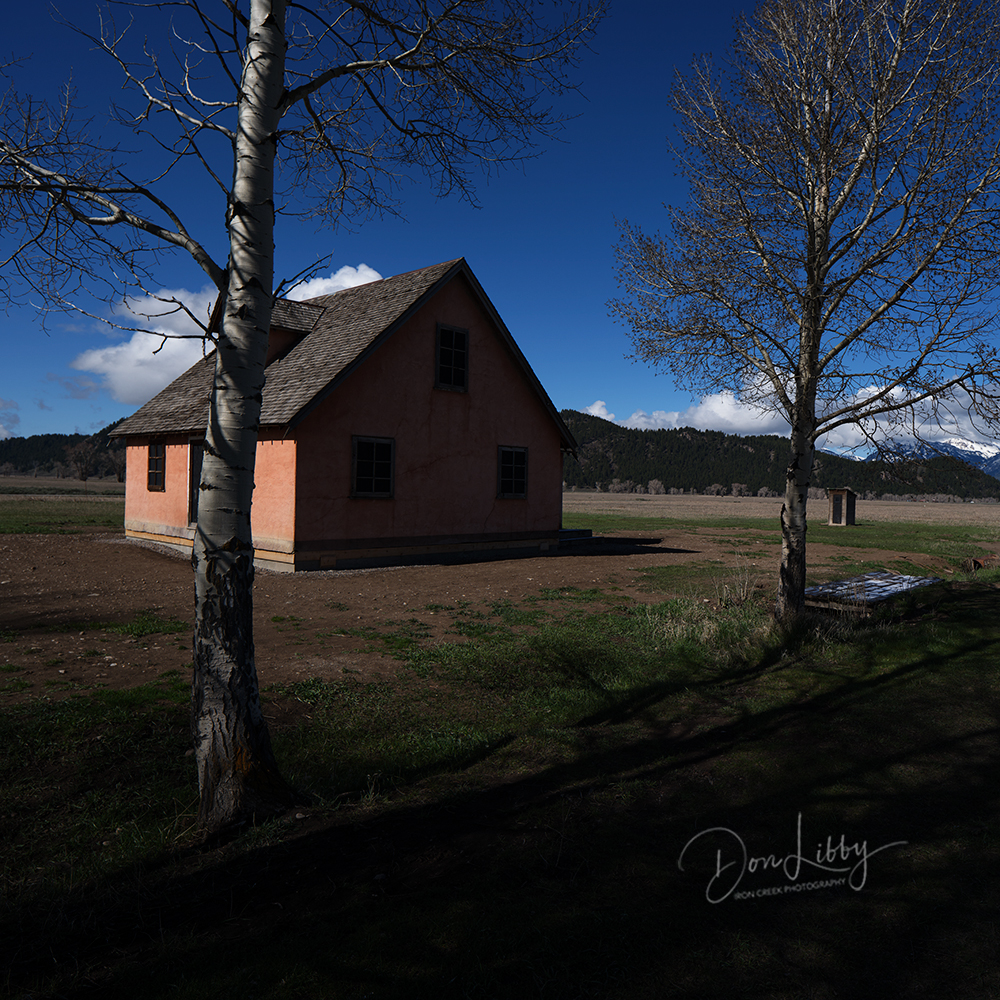
2x extender @284 yards no crop
What you should consider. A very
sturdy tripod. While I feel it might be able to shoot reasonably well off a
good ball head, I opted for a gimbal head. Once again, while there are many out
there my own personal choice is a Wimberly WH200. The WH200 might be a bit of
overkill with a weight rating of 100 pounds I like it. A lot.
I will not go into any great
detail regarding the extenders other than they are available.
2x extender @8-yards slight crop
The weakest link might be a good
adaptor and as of this writing my KIPON has worked well. I ordered a new on and
also was able to pick up a good used one. The thinking at the time was to have
one attached fulltime to the extender I use the most. I have since changed my
thinking and have ordered another one directly from KIPON. I’ll keep one
attached fulltime on each extender and have one on the lens when I don’t need
extension. Overkill? Yes, however my way of thinking is that it’ll make for far
less of any accidental issues when trying the make a fast change in the field.
Granted I haven’t the lens very
long I have found it to be a superior lens. Manual focus is no more difficult
than any other lens I’ve used. Pro tip – make certain that you switch your GFX
to M mode. Yes, that makes sense however in the heat of the moment it could be
overlooked.
2x extender top image cropped shot @8 yards
This is a very long lens
measuring well over 16 inches with just the adaptor and body attached and 19" with the 1.4. The
weight, overall length and focal length make for a combination of instability.
Vibration is not your friend. What I’ve learned so far is to shoot as fast as I
can with as high an ISO that I can. I also keep the GFX on burst mode. I’ve
attached a wired remote and use it about 50% of the time.
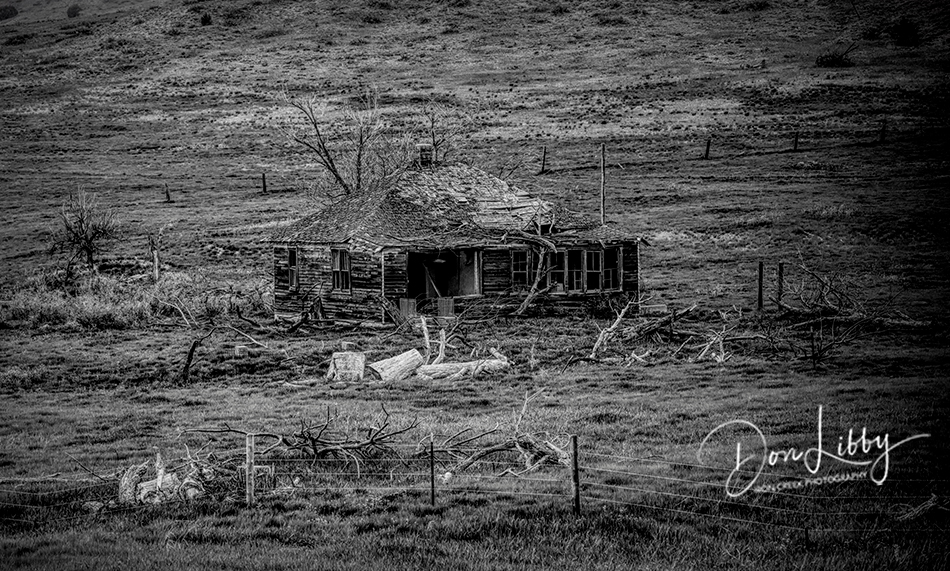
Both shot @ 688 yards no crop no post processing
The images provided here are all
from the first couple of days of owning the lens. I was primary interested in
how well the lens, extensions and adaptor work.
One addition thought. This lens
comes with an attached lens shade which I used on all the images posted here.
There is no vignetting.
I hope to post more soon.
Don